Welcome to the June 2015 edition of Righting Crime Fiction. In this month’s segment, I will discuss the keys to a proper fighting stance, the mechanics involved, and some tips to ensure your fighting stance is solid. It might be unnecessary to describe the exact position your character will be in during a fight, but if you, as a writer, can “see” it and “feel” it, you can convey your message more clearly.
Note: If there are no objections (and I don’t hear any:-), I will speak directly to your law enforcement characters, as this will help simplify the writing for me. Additionally, keep in mind that these techniques can be used in fight scenes between anyone (not just between a law enforcement officer and a suspect), and they can also be utilized in real life situations.
INTRODUCTION
Immediately upon recognizing that a physical confrontation is imminent, you should get into your fighting stance and prepare to defend yourself. Since physical confrontations often develop unexpectedly, it is imperative that this stance be as naturally a part of your everyday life as walking. You will not have time to think about proper body positioning. If you stop to think during a full-contact fight, you could get knocked out. If you stop to think during a fight with a suspect, you could “get dead”. Thus, you must spend hours upon hours in your fighting stance so your body will instinctively know what it “feels” like to be in the proper position. Developing this “muscle memory” is crucial to surviving a physical encounter.
This fighting stance is derived from boxing, and it is the only stance you will need to utilize during an unarmed (or armed) confrontation. It offers a solid base and fluid mobility, enabling you to shift your body weight effortlessly from one technique to the other, while maintaining your balance and defensive posture. It is wider and more balanced than the ready stance, while providing optimum mobility.
KEYS TO FIGHTING STANCES
1. In life we usually begin and end our days at home. Similarly, your fighting stance should be considered “home” and everything you do in a fight should begin and end there. You will launch every technique from your fighting stance and, upon completing the technique, you must immediately return to your fighting stance, or your “home”.
2. The base of your fighting stance, which consists of your legs and hips, should remain centered at all times. You accomplish this by keeping your groin area centered between both feet. Even when you are moving, you should keep your groin area centered. You will shift your body weight while executing techniques, but your base should remain centered, except when you execute kicks.
3. To shift your body weight properly while maintaining your centered base, simply move your head slightly in the direction you want your weight to shift, while simultaneously bending or twisting at the waist. This shifting of your body weight is important to power striking and defense. Once the technique is completed, you must return your weight to center-line. You accomplish this by moving your head to its original position over your groin.
4. You must strive to always maintain your balance while in your fighting stance. This can be accomplished by focusing on proper foot position, which will be described in detail in the following section, keeping your knees bent, and supporting your body weight evenly on the balls of both feet. Also, remember to never turn your firearm side toward the suspect.
5. Keep your chin tucked and your hands up at all times. Additionally, if your suspect’s hands are up and in plain sight, focus on your suspect’s chest area. This will afford you a good peripheral view of his four primary personal weapons; his arms and both legs. If your suspect’s hands are hidden, it is imperative that you focus on them—while keeping track of his feet in your peripheral vision—because they could produce a deadly weapon.
FIGHTING STANCE
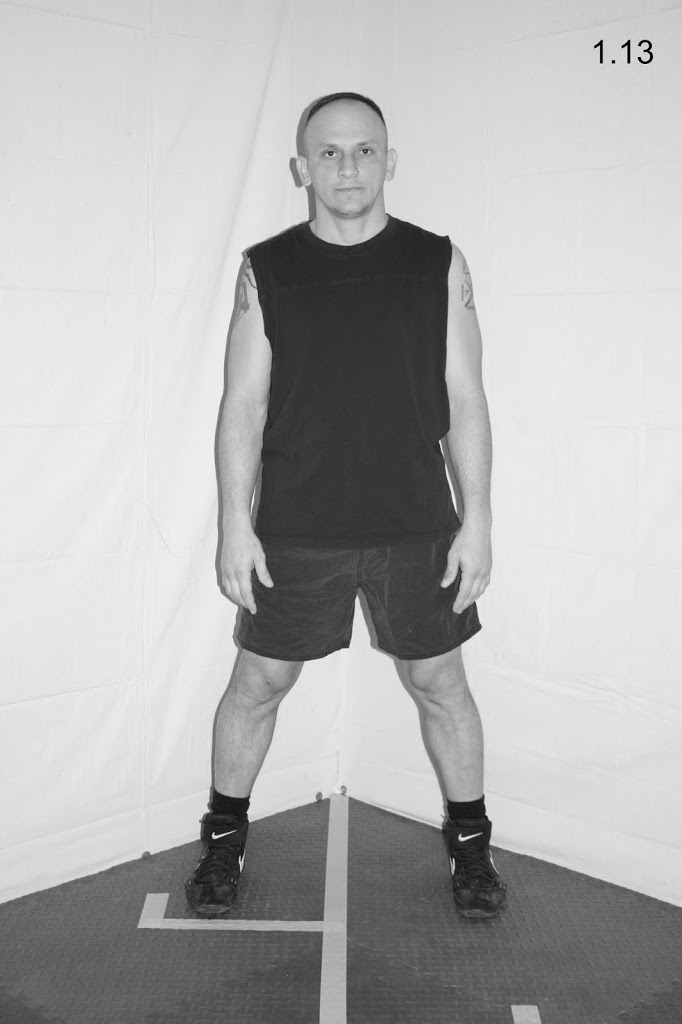
Step One: Begin by standing with your feet parallel and a little wider than shoulder-width apart (see Fig. 1.13). Remain relaxed with your head centered above your midsection. Imagine a suspect is directly in front of you and you are standing squared-up to him.
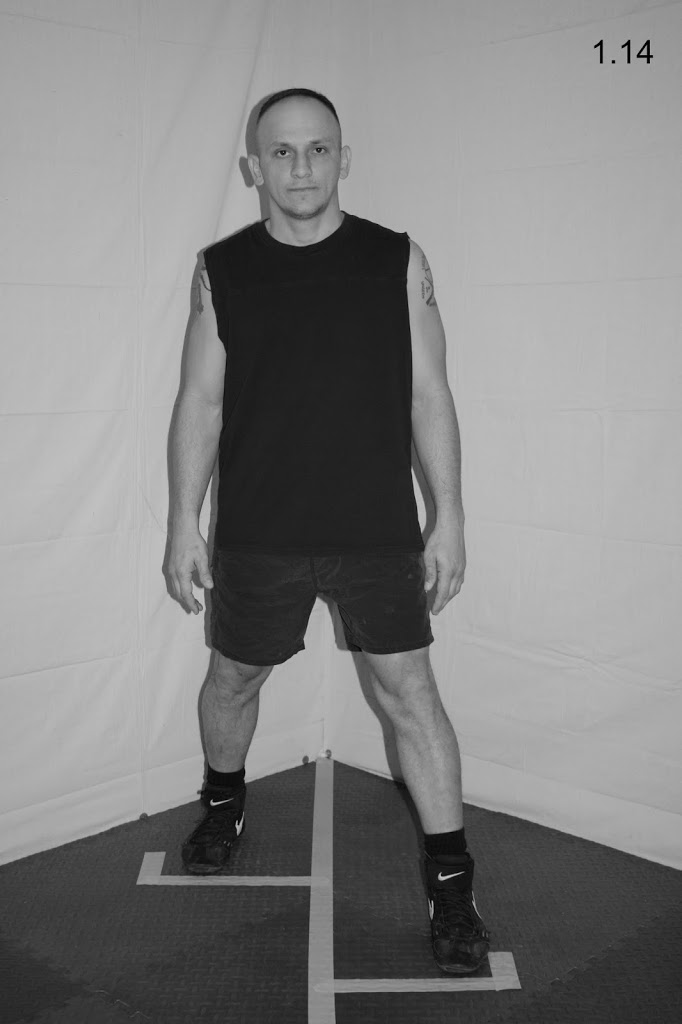
Step Two: Take a full step forward with your left leg (see Fig. 1.14). Your left leg has now become the lead leg, while your right leg has become the rear leg. The step will have turned your body at an approximate forty-five degree angle to your imaginary suspect, putting the lead leg closest to the suspect and the rear leg farthest. This simple maneuver places your right hip and firearm out of the suspect’s reach.
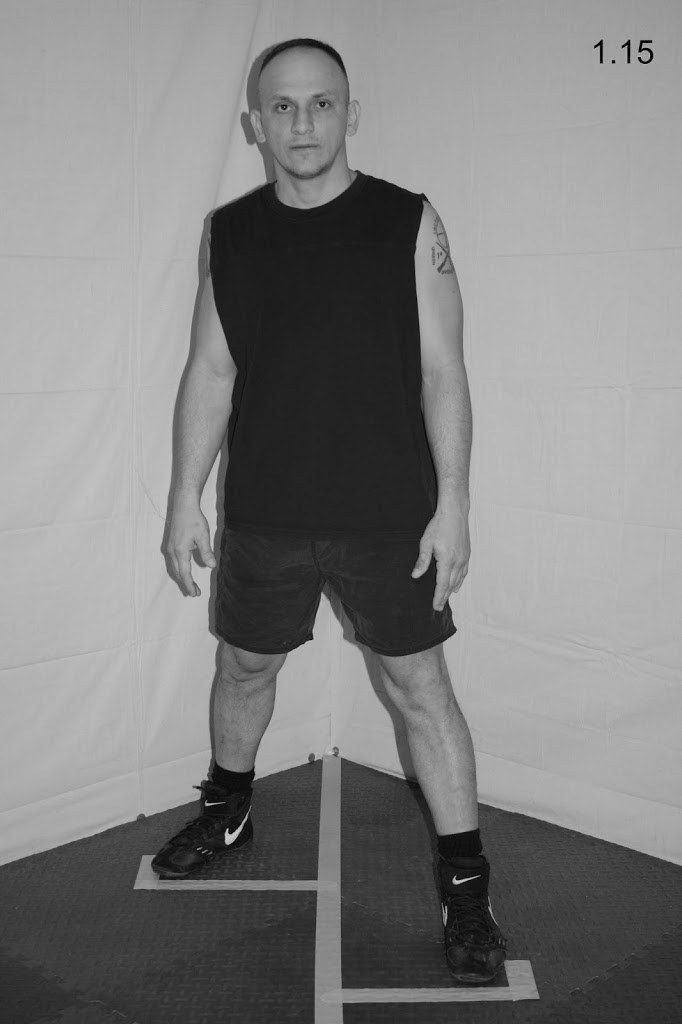
Step Three: Turn the toes of your right foot outward at an approximate forty-five degree angle, while keeping the toes of your left foot pointed at your suspect (see Fig. 1.15).
Step Four: Bend your knees slightly and distribute your weight evenly on the balls of both feet (see Fig. 1.16). Your heels should be raised ever slightly—they could remain in contact with the floor, but the contact must be “light”. This is important because you will be pushing off with the balls of your feet when you move and you will also be twisting on the balls of your feet when striking. If you bear your weight on the heels of your feet, you will limit your mobility.

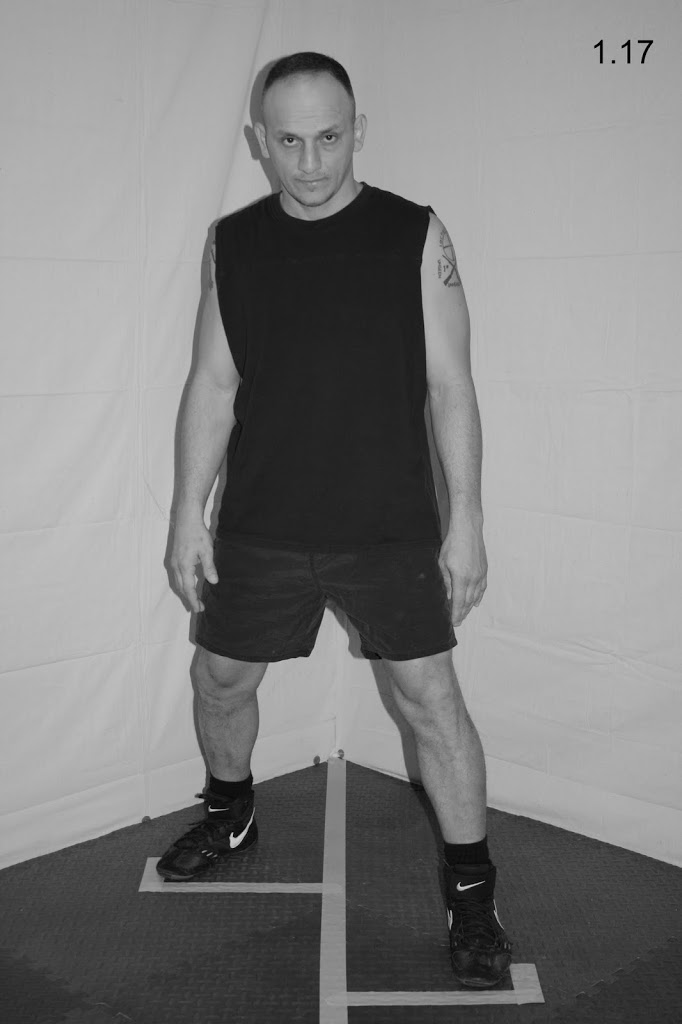
Step Five: Tuck your chin by tilting your head forward in a bowed-head position, and lift your eyes to look directly forward at your suspect’s chest area (see Fig. 1.17). To assume the correct position, imagine you are looking down at a ticket book to write a citation. You merely need to lift your eyes to look directly in front of you. As long as you can see your eyebrows, your head will be tilted far enough. I call this “looking at life through your eyebrows”.
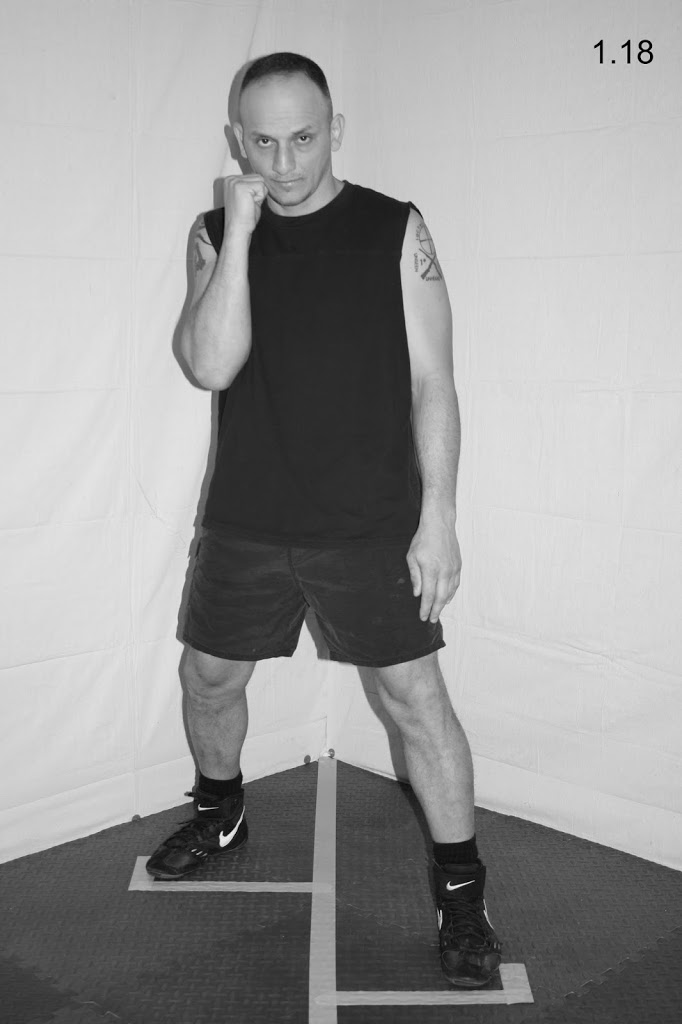
Step Six: Form a fist with your right hand (more on this later) and bring it up to the right side of your face, with your right elbow pointed directly downward and near the right side of your torso (see Fig. 1.18).
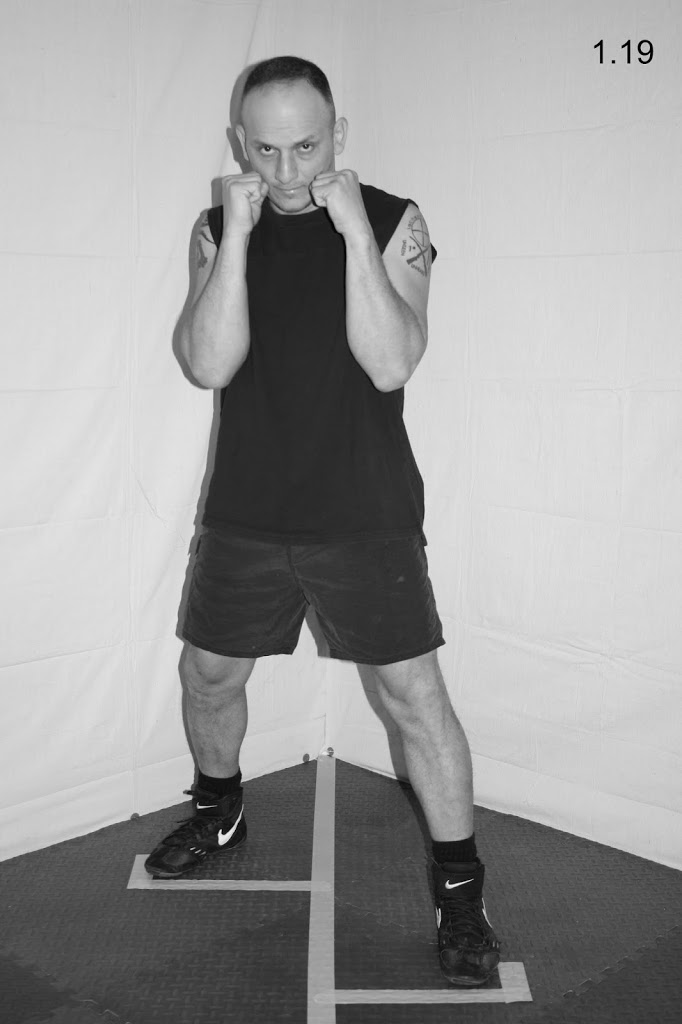
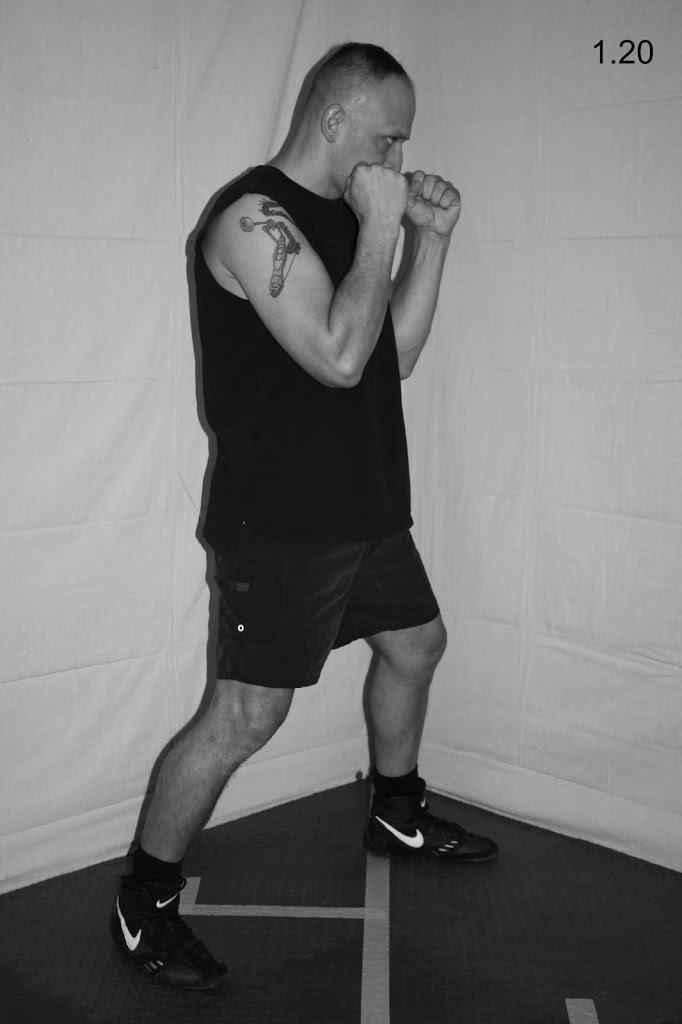
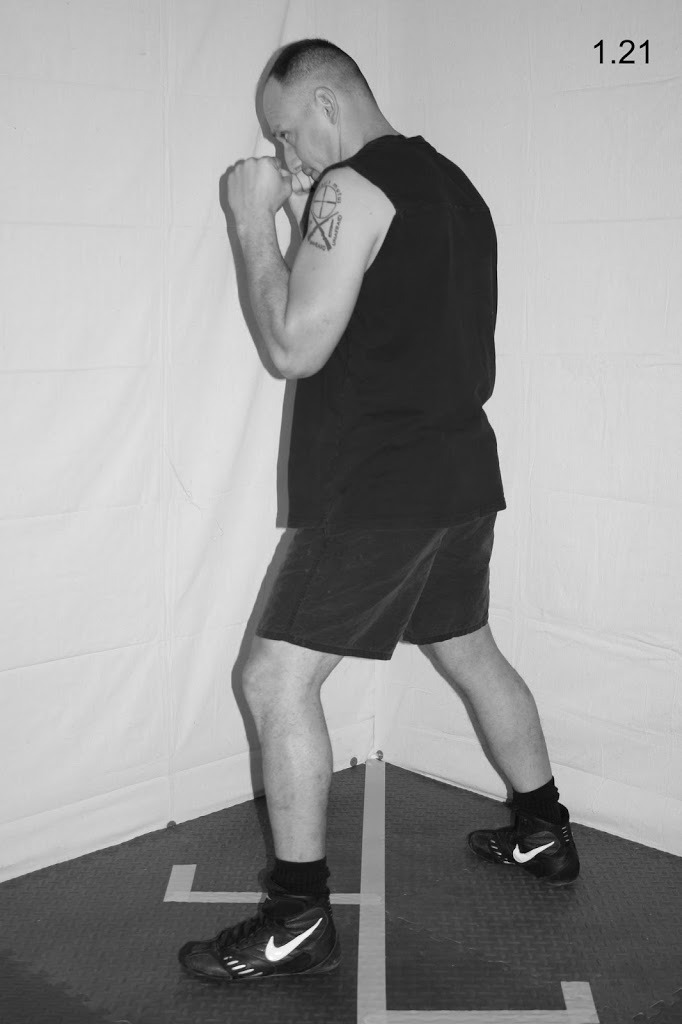
Step Seven: Form a fist with your left hand and bring it up to the left side of your face, with your left elbow pointed directly downward and near the left side of your torso (see Fig. 1.19). This hand and elbow positioning will provide protection against sudden and unexpected attacks, while keeping your arms in proper position for you to immediately defend yourself (see Fig. 1.20 and 1.21).
TIPS TO IMPROVE YOUR FIGHTING STANCE
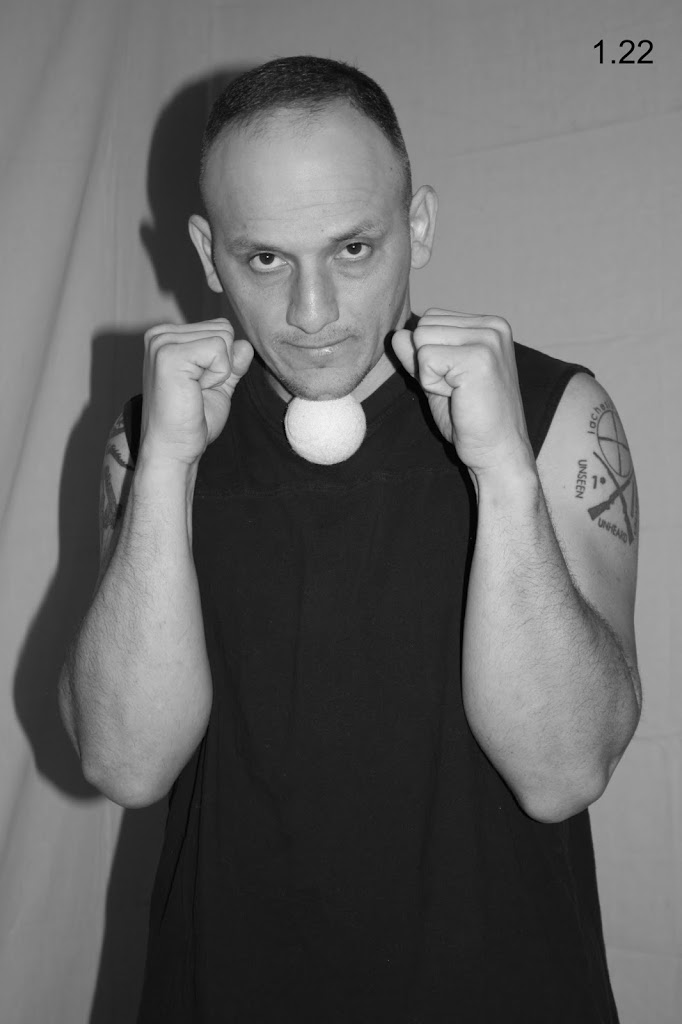
Tip One: A good drill to help you focus on keeping your chin down is to clamp a tennis ball between your chin and your neck (see Fig. 1.22). Next, perform fighting techniques in this position. If the tennis ball falls, you lifted your chin too far. (I have to constantly remind myself of this.)
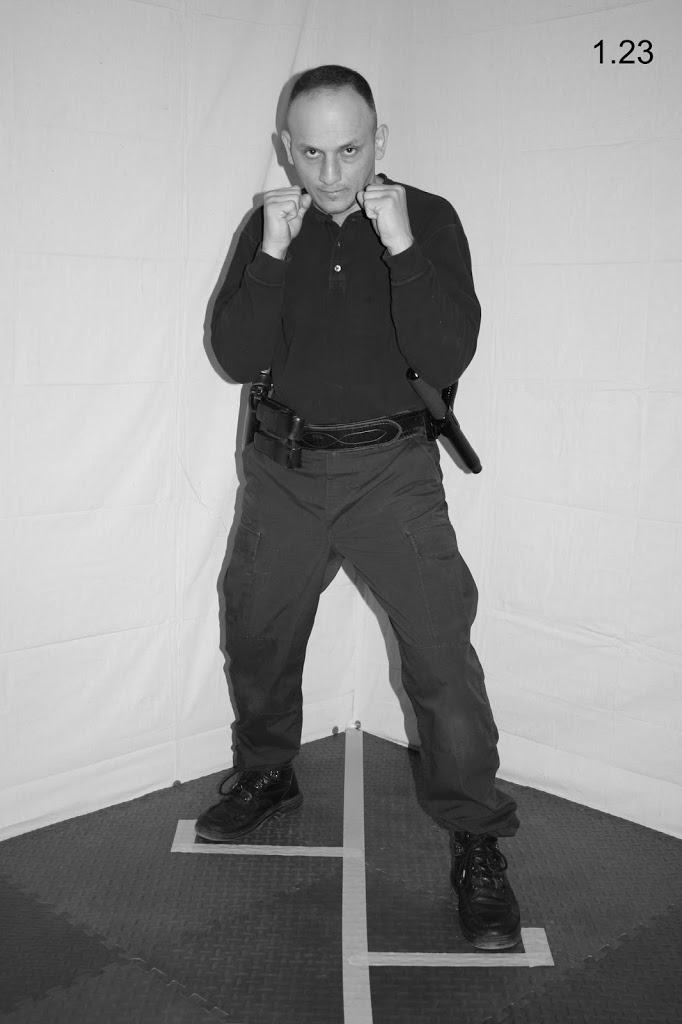
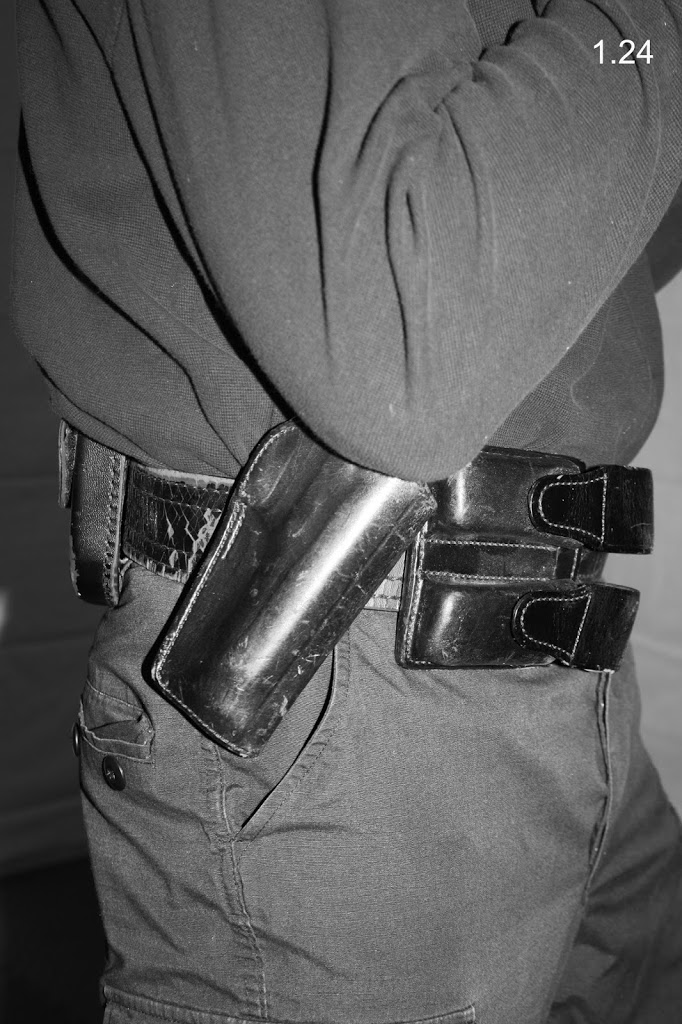
Tip Two: I have always preferred to keep my right elbow pressed against my firearm when in my fighting stance (see Fig. 1.23 and 1.24). This serves as a second line of defense for weapon retention, with the first line being the distance between the suspect and my firearm.
Tip Three: The muscles in your arms and shoulders should be relaxed. Tense muscles hamper speed and accelerate fatigue, so you should always focus on staying relaxed.
Tip Four: From the ready stance (described in the May 2015 segment of Righting Crime Fiction), you are halfway into the fighting stance and would only need to take a half step forward with your left leg to assume the fighting stance.
CONCLUSION
That will wrap up the June segment of Righting Crime Fiction. If any of you have any questions or comments or suggested topics, feel free to contact me and I will reply as soon as I can.
Until next time, write, rewrite, and get it right!
BJ Bourg is the author of JAMES 516 (Amber Quill Press, 2014), THE SEVENTH TAKING (Amber Quill Press, 2015), and HOLLOW CRIB (Five Star-Gale-Cengage, 2016).
© 2015 BJ Bourg